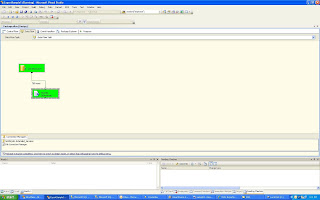
Click on File-->New-->Project-->Integrated Services Project
sometimes "Integrated Services Project" is not visible , make sure that in the Project Types - Business Intelligence Projects is selected. Here is the screen shot.
Fig 1

Once the project name is given (seen in Fig 1) , Drag and drop Data Flow Task from the toolbox on the Control Flow.( seen in Fig 2)
In the case of toolbox is not visible, go to View-->toolboxFig 2

Right click on the Connection Manager as shown below in Fig 3 and select New OLEDB Connection" This will lead you to a screen as shown in Fig 4.
Fig 3

This is where you will fill up all the necessary database connection as shown here in Fig 4 and click the Test Connection to make sure that you are able to connect to the database server as selected .
Fig 4

Now whene you hit OK in the Databse Connection manager you will see OLE DB Source object with green and red arrow in the Control Flow as seen in the Fig 5.
Fig 5

Now double click on the OLE DB Source Object on the Control Flow and the OLE DB Source Editor whill open up as shown below in Fig 6
Highlight the Conenction Manager on the left as you will be filling up the information to exract data from the database now.
In the OLE DB connection Manager dropdown select the Conenction Manager that was created in Step 4.
Select SQL Command in the daat Access mode. We use this mode in this example as we are using a query to get the data from the table.
In the sql Command text box write the query that you are goign to use to extract the data from the database and export out to the flat file.
Fig 6

Now, highlight the columns in the left that will show all the colums that your query will pull and the columns to be written out in the flat file. You can check one of the columns off if you don't want the column to be exported to the file. Leave the error output section as it is . WE are not doing anything with this section in this example.
Fig 7

Now from the tool box, navigate to the Data Flow Destination section and drag and drop the Flat File Destination Item in the Data Flow and expand the green arrow to connect to the Flat File Destination item as shown below picture.
Fig 8

Right click again in the Conenction Mager section and select the New Flat file Connection and thsi will pull up a Flat File Destination editor as show below.
Fig 9
Fig 10


No comments:
Post a Comment